
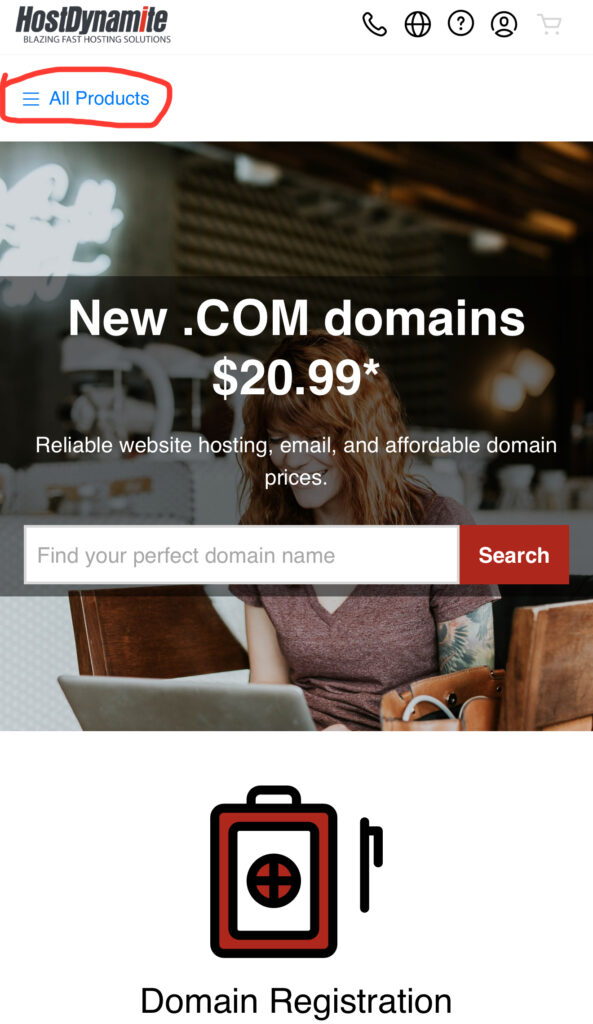
Step 1: Visit HostDynamite.com
Select “Hosting” from the menu.
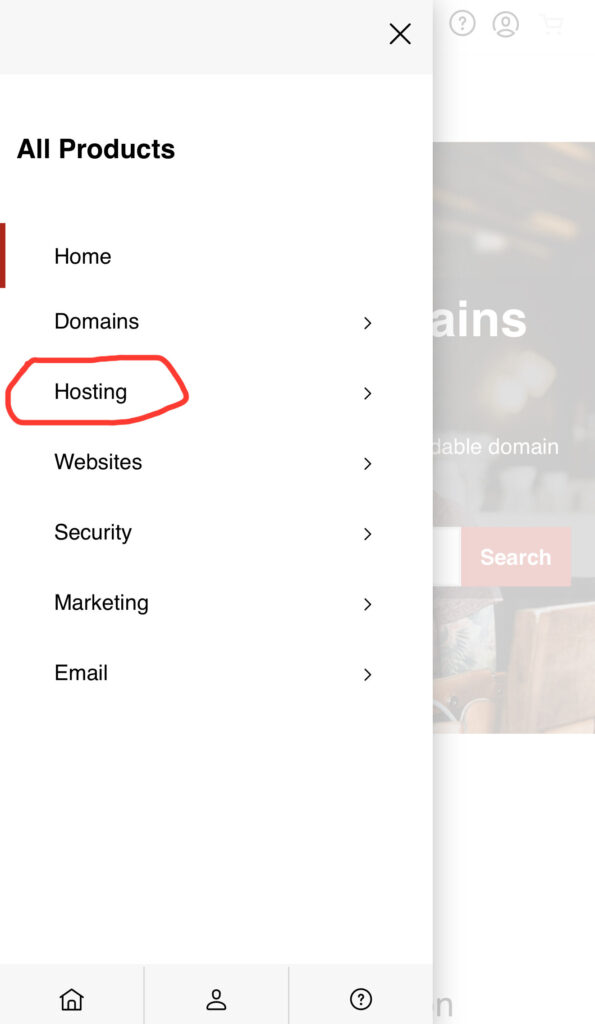
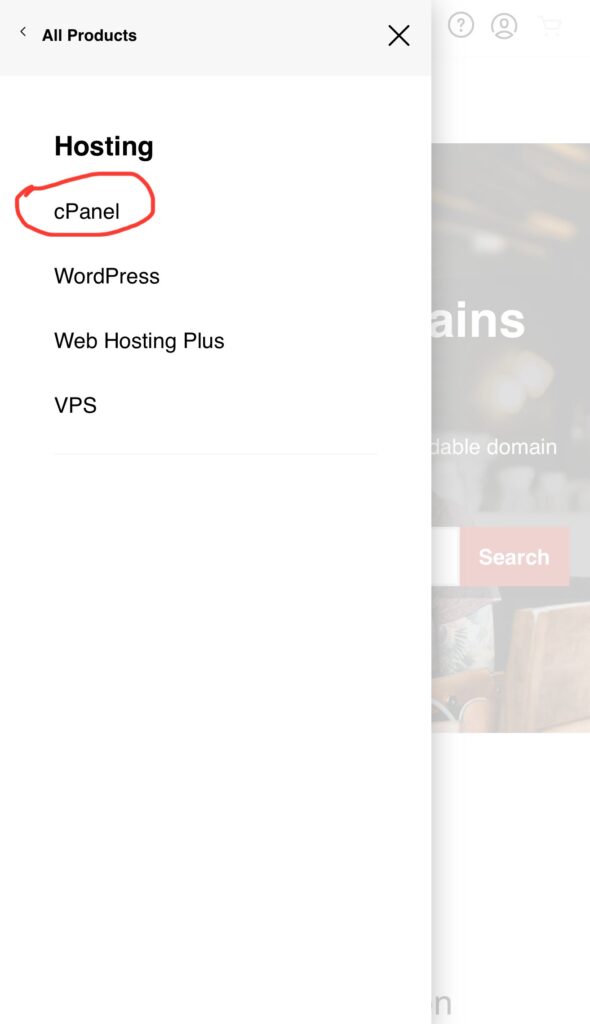
Step 2: Choose a Hosting Type
cPanel Hosting – Best for small sites and beginners
WordPress Hosting – Dedicated for WordPress based sites
Web Hosting Plus – More resources for growing sites
VPS Hosting – Full control for large, high-traffic websites
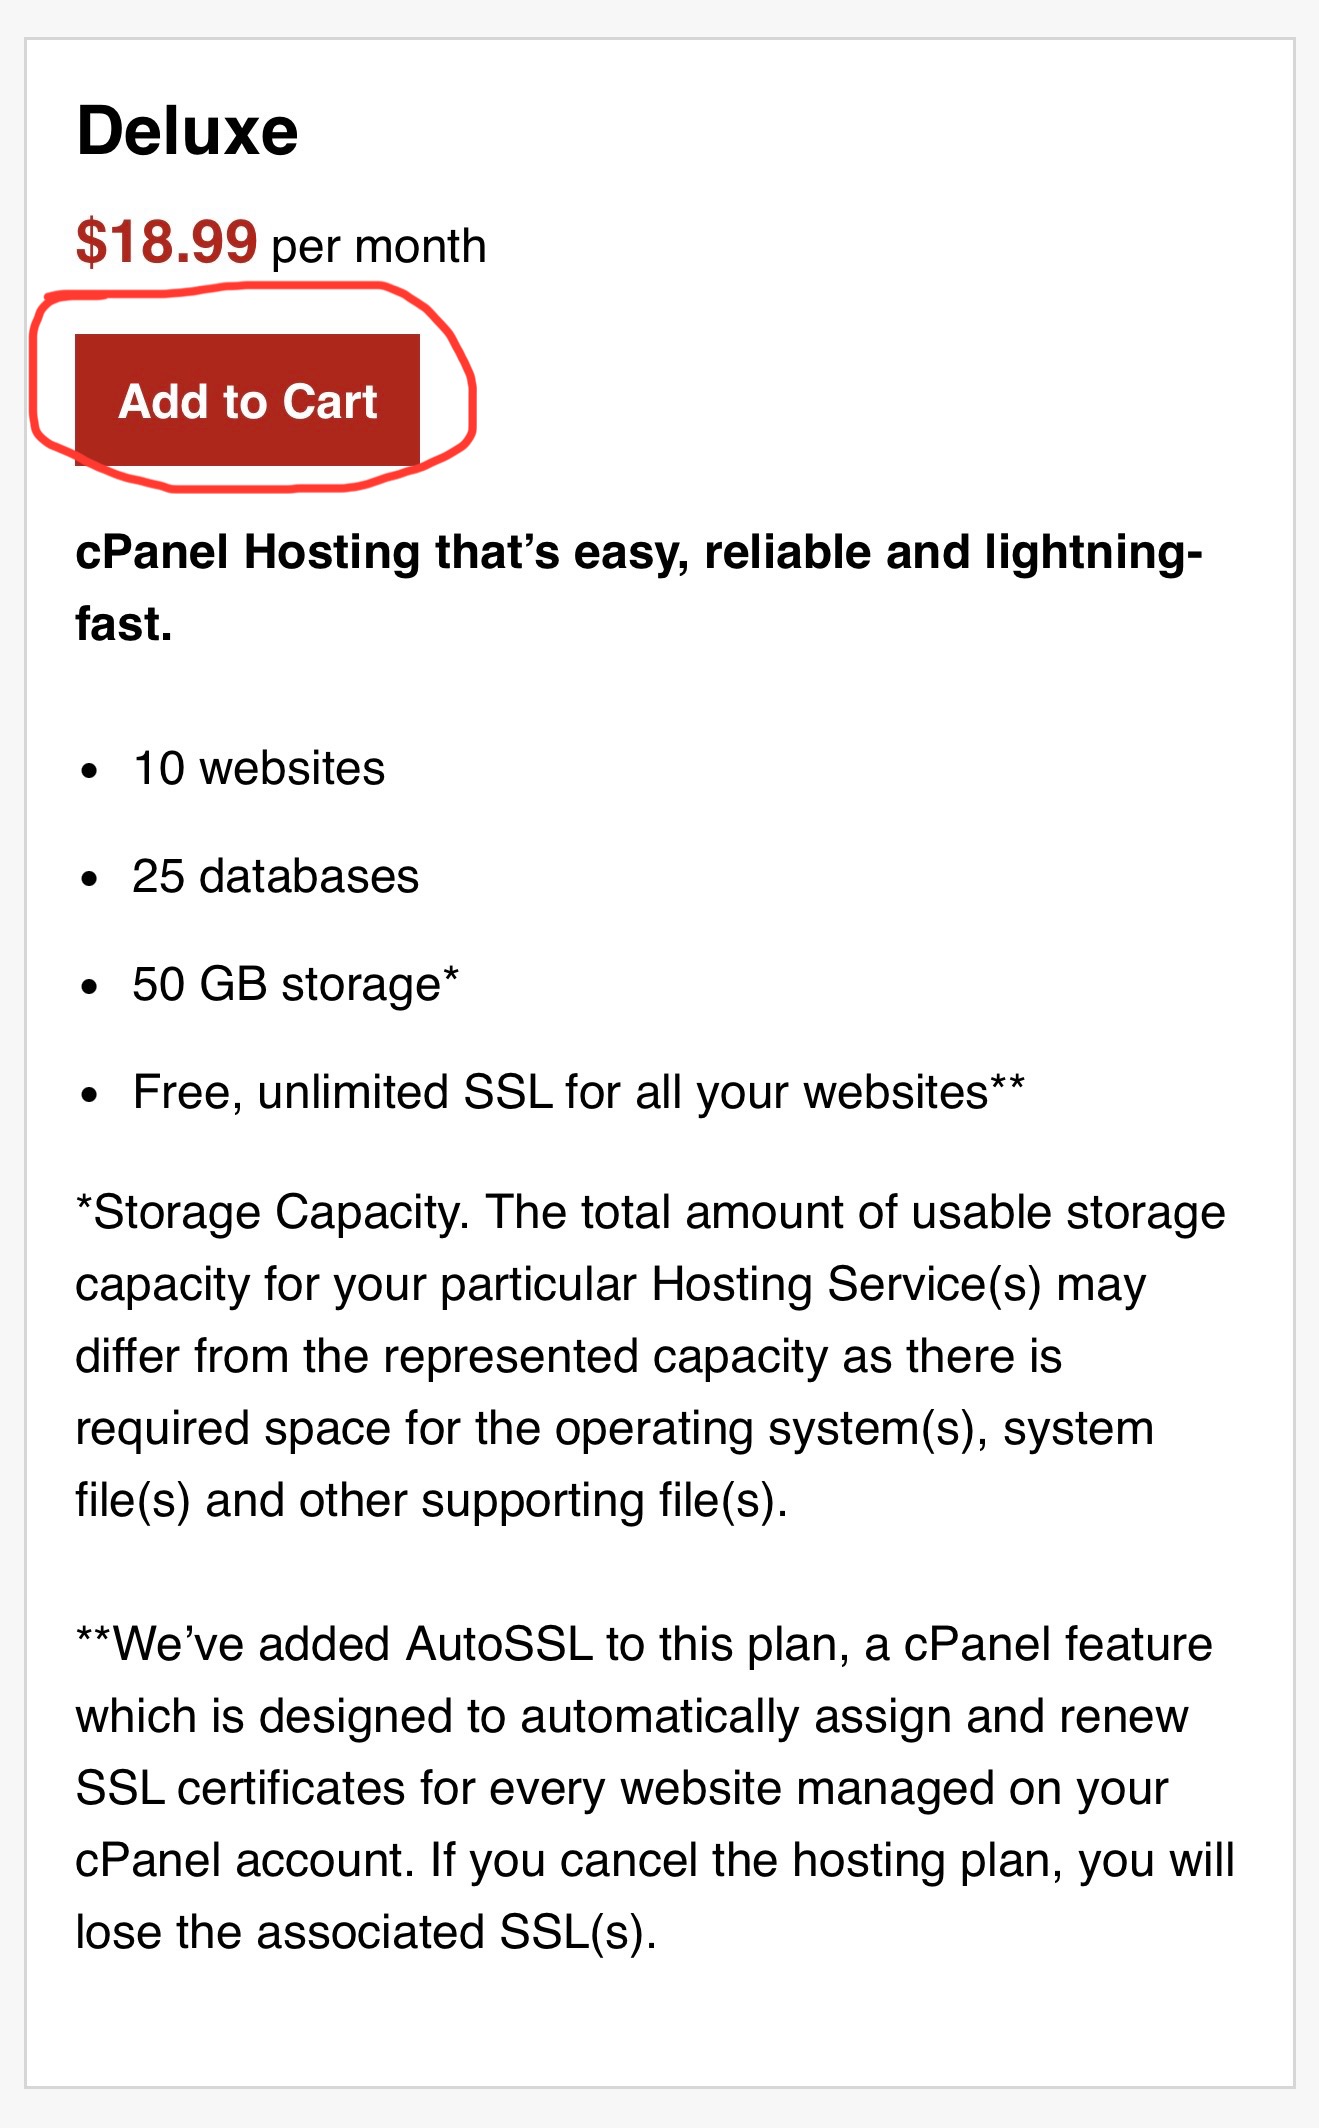
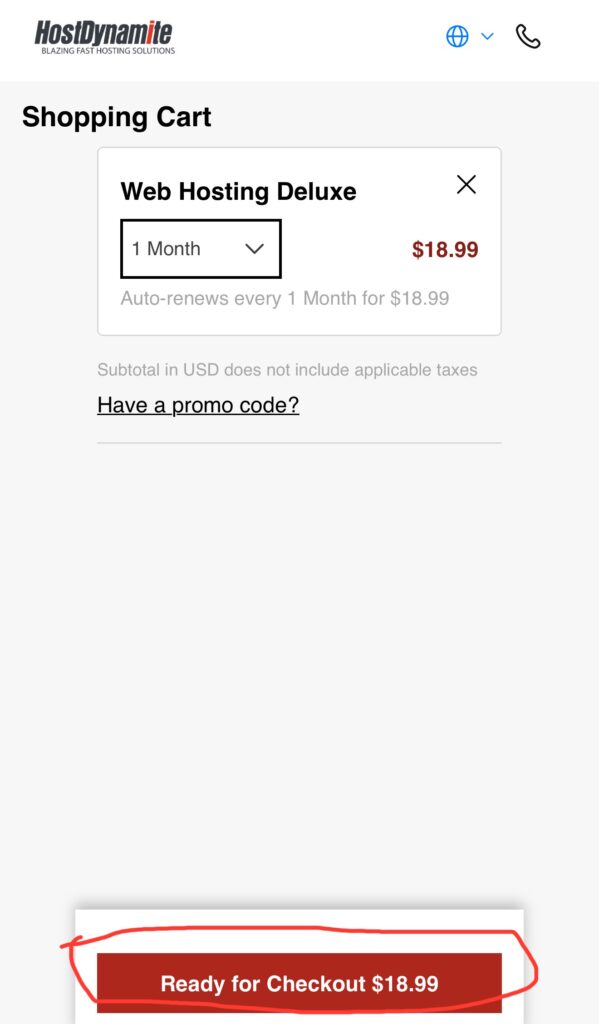
Step 3: Pick Your Plan & Term
Select a plan that fits your needs, then choose a billing cycle (1–3 years). Longer plans often cost less per month.
Step 4: Create Your Account
If you’re a new customer:
Enter your name, email, and payment details
Double-check your email (important for renewal reminders)
If you already have an account, sign in to complete your order.
Step 5: Access Your Hosting Dashboard
Once payment is complete, log in to your HostDynamite dashboard to:
Install WordPress or other builders
Manage email accounts
Monitor site performance
Step 6: Launch Your Site
Use HostDynamite’s one-click installer to set up WordPress, customize your theme, and publish your first page.